Why Is My Paint Cracking? A Practical Troubleshooting Guide
Urgent, practical troubleshooting for cracking paint. Identify root causes—moisture, prep, and coating compatibility—and follow a proven repair workflow to restore a smooth, durable finish.

Why paint cracks happen
If you're asking why is my paint cracking, you're not alone. Cracking is usually the result of moisture, surface preparation mistakes, or using coatings that don’t play well together. Environmental stress from humidity and temperature swings can also make even correctly applied finishes fail over time. The core lesson from PaintQuickGuide is simple: address the root cause first, then repair with the right products in proper conditions. In both homes and cars, the same rules apply—a well-prepared surface and a compatible coating system will resist cracking far longer. As you work through this guide, you’ll see a practical, step-by-step approach that helps you restore a smooth, durable finish without the fear of recurring cracks. This matters in 2026 where timely maintenance saves money and stress.
Common causes of cracking
Cracking surfaces come from several common culprits. Moisture intrusion from leaks, high indoor humidity, or poor ventilation weakens the film and promotes cracks. Inadequate surface prep—leaving dust, oil, wax, or peeling layers—prevents adhesion and accelerates failure. Using primers or topcoats that aren’t compatible with the underlying paint leads to adhesion loss and crack propagation. Environmental factors like rapid temperature changes or direct sun can exacerbate cracking, especially on exterior or auto finishes. Finally, applying paint too thickly or in unsuitable weather conditions causes premature drying and crazing. By understanding these causes, you can attack the problem at the source rather than treating the symptom.
How humidity and temperature affect paint cracking
Environment plays a major role in how paint behaves after application. High humidity slows cure times and can leave a tacky film that cracks as it dries unevenly. Sudden temperature swings create differential expansion and contraction, stressing the film at edges and joints. In auto refinishing or exterior painting, sun exposure can bake solvents and create micro-cracks. Poor ventilation traps moisture vapor and can cause blisters that crack as they dry. To prevent this, aim for stable temperatures, low humidity during application, and adequate airflow to carry away solvents as the coating cures. Planning around the forecast and using moisture control can dramatically reduce cracking risk.
The role of surface prep and old coatings
Surface prep is the backbone of a durable finish. If you skip cleaning, sanding, and repairing the substrate, new paint won’t bond well, and cracks are likely to reappear. Old coatings often contain waxes, silicones, or brittle layers that resist adhesion; these must be removed. For glossy substrates, roughen the surface to create a mechanical key. In many cases, choosing a primer compatible with the topcoat is the deciding factor between a lasting bond and recurrent cracking. Always test a small area to verify how the new system adheres to the old one and whether the prep steps achieved the desired surface texture.
Primer, paint types, and product compatibility
Selecting the right primer and paint pairing is as important as prep. For interior walls with latex paint, start with a high-quality latex primer designed for drywall and avoid stubborn wax residues. If you’re painting metal or automotive surfaces, use a primer formulated for that substrate and match it with the correct topcoat. Flexible or elastomeric paints can bridge small movements in the substrate but must be compatible with previously applied finishes. Reading technical data sheets and following tin-thick film recommendations helps prevent cracking and ensures better durability over time.
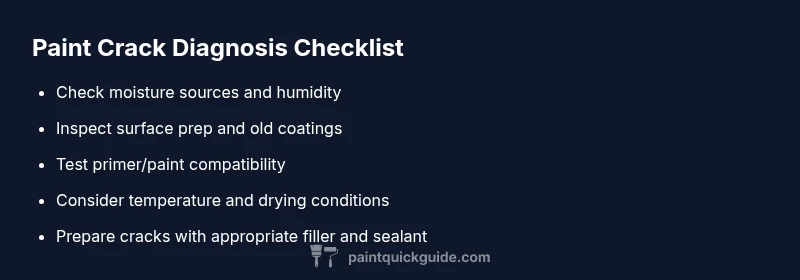
Diagnostic checklist: Is this the root cause?
- Symptom: Hairline or wide cracks present across walls or panels
- Moisture check: Look for leaks, damp patches, or consistently high humidity
- Surface prep review: Was the surface cleaned, dried, and abraded properly?
- Adhesion test: Can you chip away a small area and does the new paint peel?
- Environmental review: Are temperatures within the recommended range and is there proper ventilation?
- Patch test: Apply primer to a small area and monitor crack response over a few days
This practical checklist helps you isolate the root cause before you repaint, saving time and money.
Repair techniques for different crack types
Hairline cracks can often be repaired with a flexible filler or acrylic caulk, followed by light sanding and reapplication of primer and paint in thin coats. For wider cracks, widen slightly with a putty knife to remove loose material, then fill with a compatible patch compound, allow to cure, sand flush, and seal with primer. Avoid overcoating cracked areas with thick layers; multiple thin coats yield better adhesion and a more uniform finish. For surface movement or substrate cracks, consider flexible coatings that accommodate expansion and contraction. Always test in an inconspicuous area first to confirm that the repair will hold up to normal use.
Safety considerations and professional help
Safety matters when sanding and removing old coatings, especially on older houses or vehicles. Wear a respirator or mask, eye protection, and gloves; ensure proper ventilation when sanding or using solvents. If you suspect lead-based paint, follow local regulations and seek professional help for safe removal. If cracks are extensive, signs of moisture intrusion, or you observe structural movement, don’t delay on calling a professional. Timely assessments can prevent further damage and ensure the repair is sound and compliant with local codes.
Prevention strategies to avoid future cracking
Regular maintenance saves money and stress. Monitor humidity and temperature, fix leaks promptly, and store paint and primers in controlled conditions. Use compatible products from the start, don’t skip surface prep, and season surfaces before application. When painting, apply in thin, even coats and avoid rushing drying times. Recoat intervals should follow manufacturer guidelines, especially in high-traffic areas or areas with frequent temperature changes. With disciplined prep, product selection, and environmental control, you’ll dramatically reduce the chance of future cracking and extend the life of your finish.